Triple chocolate mousse cake

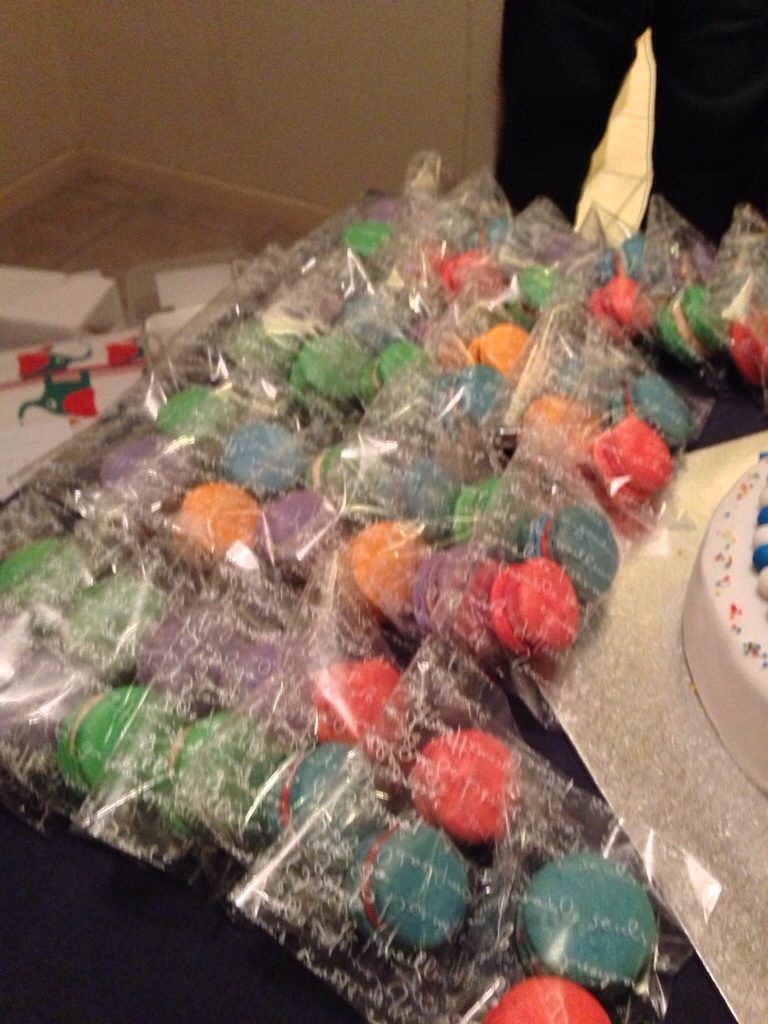
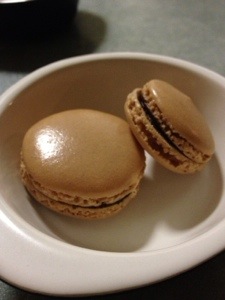
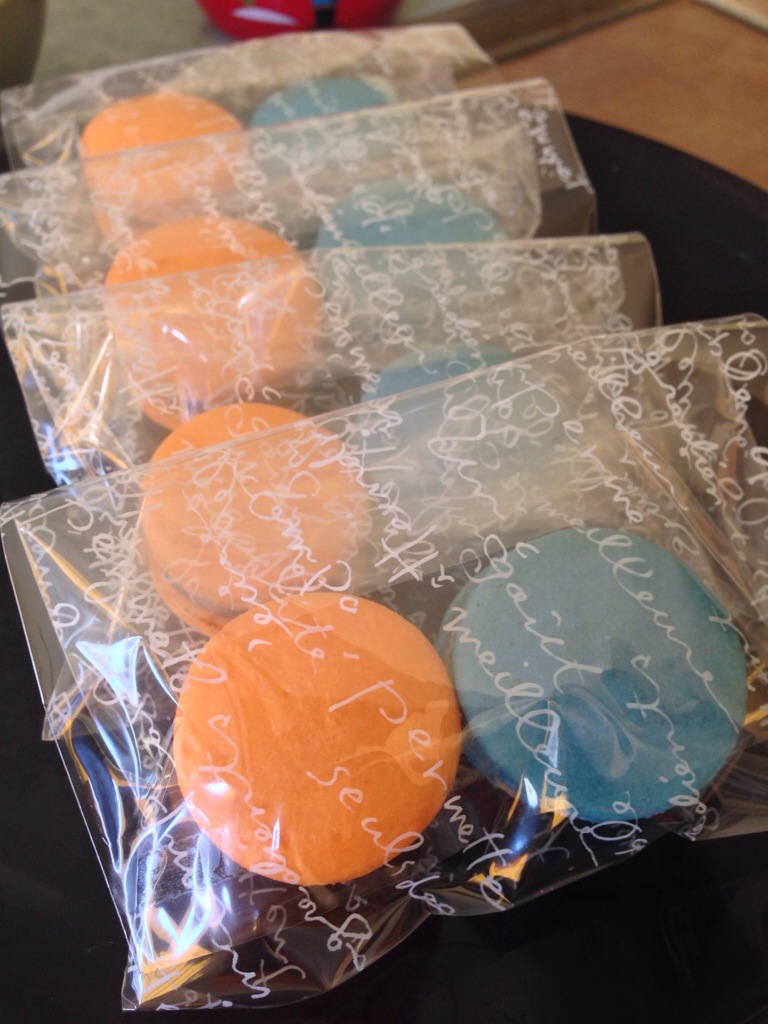
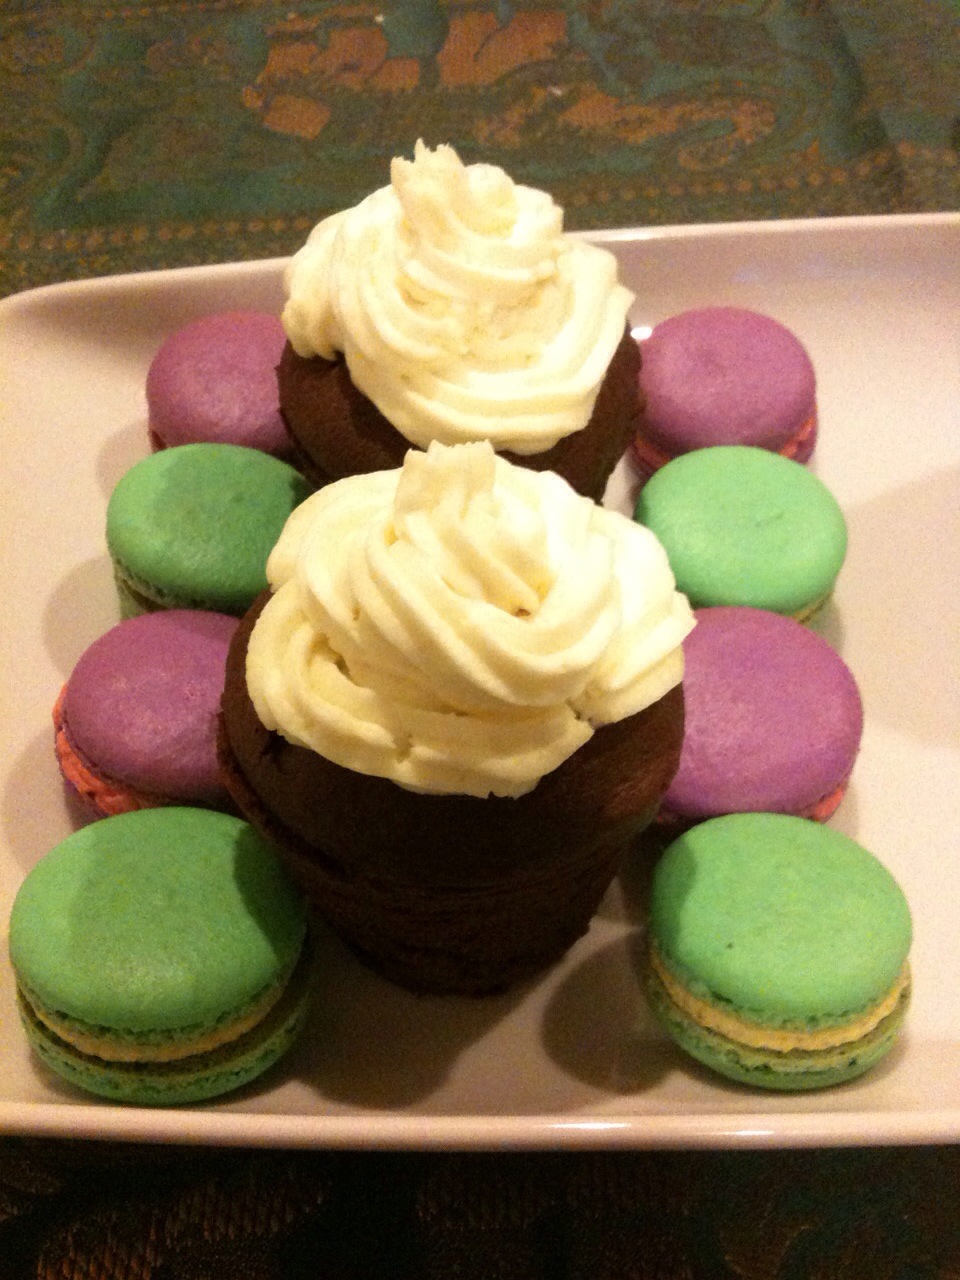
I made some macaron yesterday for my colleague’s auntie birthday party, which left quite a bit egg yolk for me. I happened to have some cream left, so I made dark chocolate mousse for my champignon. He says this one makes him feel in love. ☺️

20130831-221114.jpg
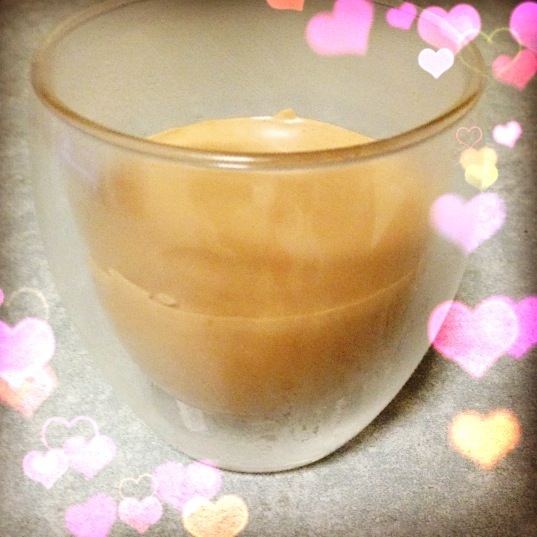
I previously make this one as layered mousse cake, but It tastes as good being small desert on its own.

20130831-221402.jpg
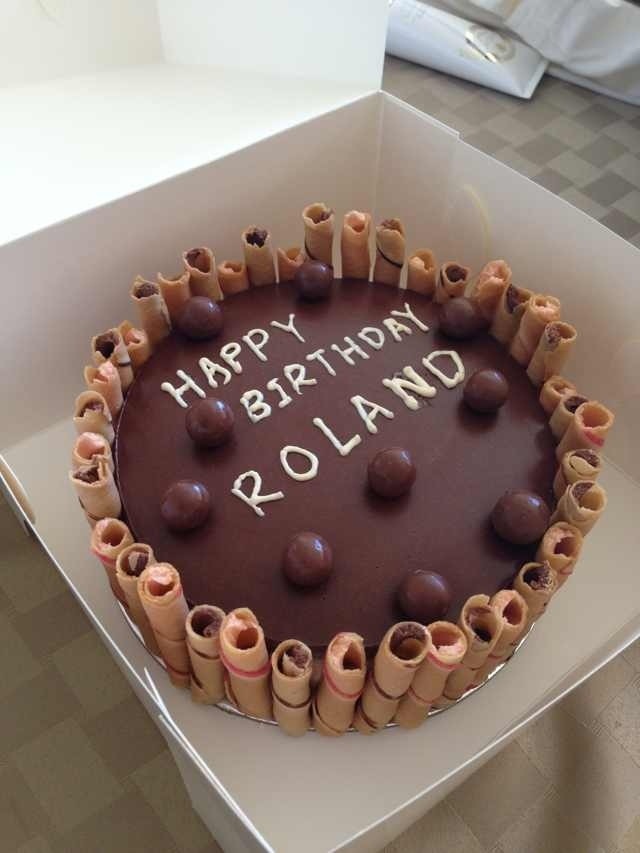
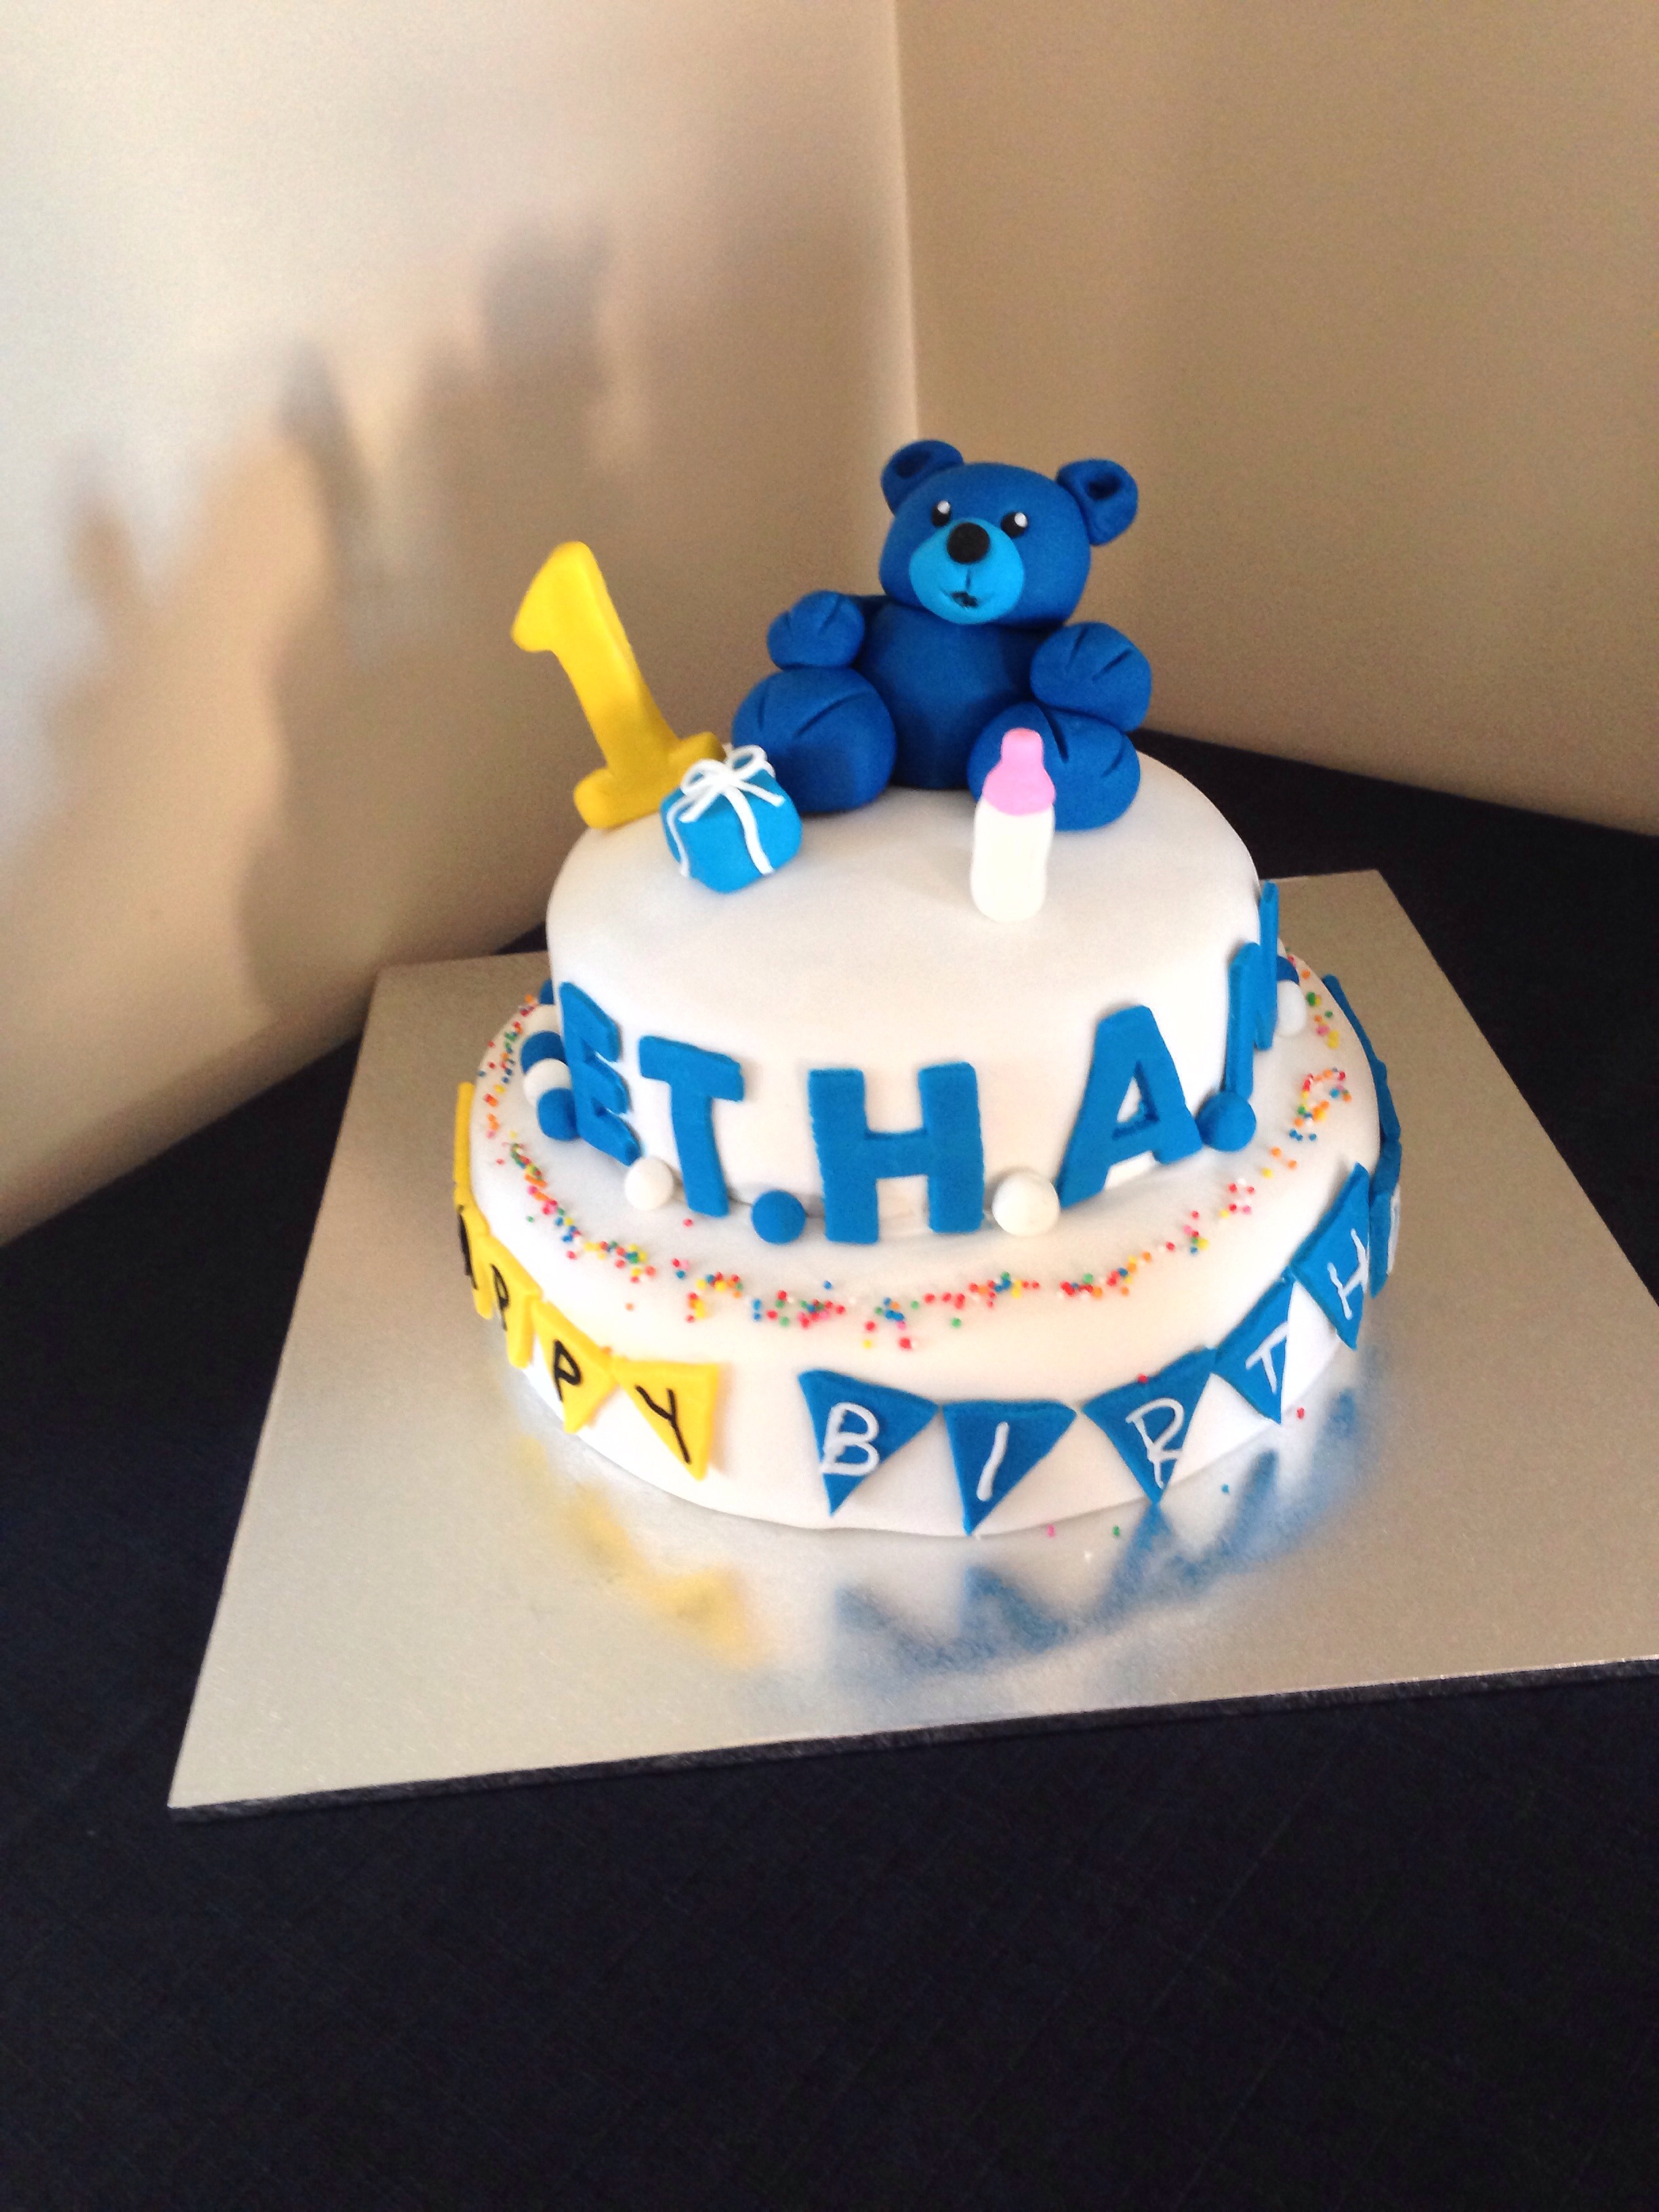
This is the one I made for colleague’s son’s birthday using same recipe. They loved it very much. Definitely worth trying if you are a fan of chocolate πŸ™‚ I also tried to make in small coffee cup with white chocolate mousse on top before. It looks like take away coffee, but it actually is tripe chocolate mousse.

Original recipe ( for cake)
Mousse
789g thicken cream
8 egg yolk
113g of sugar( depends how sweet you want and what kind of chocolate you use. I normally use 70% Cocoa one)
1/4 cup of corn syrup
1/4 water
2 tsp vanilla essence
Pinch of salt
100g dark chocolate
100g milk chocolate

1. Whip the cream until stiff, put into a air tight contain and chill in the fridge for an hour
2. Beat the egg yolk in high speed until very light.
3. Put 1/8 cup corn syrup + 1/8 cup water+ half of the sugar into a sauce pan. Hear over cook top until syrup becomes clear and small bubble.
4. Pour the syrup into the egg yolk in small stream while beating it in medium low speed, and then change to high speed. Continue to beat until thicken around 5 min
5. Melt the chocolate over double boiler
6. Add chocolate into yolk mixture. Add in pinch of salt and 1tsp vanilla essence, and mix well.
7. Remove the cream into bowl.(if it’s hot weather, chill the bowl in the fridge in advance or use ice water bath to keep the bowl cold). Add in chocolate mixture in two addition. Mix well in each addition. Put back into fridge to chill.
8. Do the same for milk chocolate
To assemble, put the prepared cake, pour milk chocolate mousse, another layer of cake and dark chocolate mousse. Chill in the fridge until set, then you can decorate the cake using either ganache, fruit or whatever you like.
For the cake I normally use chiffon cake, because it’s very soft and airy, perfect with the smooth mousse. If you make small dessert, can just pour into small cup to chill, decorate however you like. 😊

Teddy bear fondant cake

This is my second fondant cake~ and I’m pretty proud that I finished in a very short time. It’s for my friend son’s 1 year old birthday.

20130831-010634.jpg
Fondant is quite fun to play with~ but it does need a bit practice and time consuming. For those just started using fondant, the fondant roller and smoother are two must have tools. There are a lot of videos online comparing different pre made fondant. I use “Bakels”, and I’m very happy with that. They are very easy to roll out and it holds quite well and smooth as well. Also the orchid one from the supermarket is surprisingly good as well. It needs a bit knead at the beginning, but quite soft and very smooth as well.
I also made some macarons for guest’s thank you gift~ like the packaging bag very much~ 😊

20130831-011547.jpg

Macaron

A lot of my friends like my macarons~ and request the recipe, so I decide to upload it today.
I have to say firstly I thought it was not as hard as people says because I had a very good first attempt.

20130829-192036.jpg

20130829-192114.jpg
But after that first attempt, I kept failing one batch after another. I tried different recipe’s and different ratios, but the end result I was left with was nothing like the first little cute cookie with the feet. Until one day, all of sudden I just got it~ The ratios, mixing amount and cooking techniques. And ever since then, all my macaron turns out pretty good~

20130829-192533.jpg

20130829-192545.jpg

20130829-192604.jpg
This recipe usually yields around 12-14 macarons for me
Ingredient:
Soft icing sugar 40g
Almond meal 40g
Egg white ( room temperature) 30g
Caster sugar 40g
Gel food color
( since I started to make macarons~ it’s surprising how many color’s I have collected~)

20130829-201624.jpg

Tip: the ratio is very important, so make sure you measure precisely. And if you forget to take the egg out, you can put the egg into warm water for 5-10min to reach a room temperature
1.Blend the icing sugar and the almond meal together until very fine in a blender or food processor. My “champignon” normally does that for me πŸ™‚
2. Using an electric mixer to beat the egg white until foamy, add caster sugar in three lots and continue to beat in high speed until stiff glossy peaks ( around 8min)
3. Add a few drops of the food coloring into the meringue and continue to mix until color is mixed in evenly
4. Sift the almond mixture into meringue , use a spatula to fold the powder mixture( usually 40 to 60 folds depending on strength used) until it has a lava like consistency. If you pick up the mixture and let it drop it back into itself, it should drop like a ribbon and it should take around 15-20 seconds to absorb back into itself. The mixture also should look smooth if the powder ground fine enough.
5. Put the mixture into a piping bag. Preheat the oven 150 degree fan force.
6. Prepare the baking tray with the parchment paper and pipe the mixture slowly into small even amounts ( usually a little larger than a 20c coin). I have to say my darling “champignon” is really good at that, and he doesn’t even need a template, he always makes the perfect shape and size. πŸ‘
7. Once the tray is full you need to bang the tray against the bench to release any bubbles that may be in the mixture.
8. Leave the macaroon to rest for 20-30 mins until the top skin is formed. If the weather is too cold or humid, you can put the tray into a preheated warm oven to form the skin (around 2 min, but be carefully the oven temperature can not be too hot)
9. Bake the macaron in upper level of the over for 5min at 150 degree. The feet should have appeared now
10. Change the tray to lower level and use another tray in the upper level to prevent the heat darkening the color of the macaron. Keep baking for around another 10 min ( the cookie is cooked if you can take the cookie off from the tray easy and clean)
11. Leave the macaron to cool down and match the same size together.

Sandwich your preferred filling and put into the fridge to cool.

20130829-195230.jpg

Sausage bread

I tried to make this bread several times, however this is really the best one I ever made. Very soft and spongy, the texture of the bread is very nice and consistent throughout, it looks pretty cute too. I don’t know whether its because I changed the recipe a little (which was kind of an accident). But that’s how I enjoy trying new things upon inspiration, it doesn’t always turn out right, but sometimes it gives you nice surprises.

20130827-233654.jpg

Here is the recipe I used this time

180g self raising flour ( or bread flour) I tried to use wholemeal before~ trying to be healthy, but it doesn’t turn out as soft and airy
70g of all purpose flour
40g sugar ( I normally reduced to 35g)
3 g yeast
120g milk
15g butter( room temp soft)
1/2 tsp salt
15g milk powder
1 egg( lightly beaten, 30g for dough, rest for brushing)

Mix the yeast with the milk set aside for 5min
Mix all the powder together into mixing bowl( can use sift)
Add in egg and milk mixture into the dry ingredients mix into smooth dough
( I use kitchen aid at speed one for roughly 5min)
Add butter in and keep mix for 20-25min (speed 2) or until the dough is elastic enough to be expand to a very thin layer
If you don’t have mixer or dough hook, can just knead with hand, but it might be very sticky at the beginning. You can use scraper to help you knead, it will eventually become smooth and elastic.
Put dough into a bowl and wrap with glad wrap, leave in warm area to proof 45min or until it expand to twice the size( I preheat the oven in a lower heat, and turn it off when put the bowl in, close the oven door to maintain the heat)
Punch the dough to get the air out, and roll them into a long string. Cut dough into even small size ( depends how big you want to make the bread) roll them into balls. Cover the ball with a warm wet tower and let it rest for 15 min.
Roll the ball into either a string or flat oval shape, roll the sausage into the dough

20130827-235414.jpg
Wrap them with glad wrap and put back to the warm oven for final proof around 45-50min till they expand until around double size.
Preheat oven 150 degree, lightly brush some egg onto the bread bake for 30-40min. Depends how big the bread is. Smaller one’s take less time.

Tips: stab the sausage so when baking, it will not expand too much and affect the dough to have a fluffy and airy texture.
leave the tray rack medium or low level, if the color of bread become dark too quick into baking, use tin foil to cover the top.
Take the out and let it cool. Enjoy~

20130828-000146.jpg

20130828-000153.jpg

20130828-000428.jpg

My first fondant cake

Today I got call from my bestie asking me whether I can make a birthday cake for a lady that works next to her office. Well~ I’m super happy that people actually thinks cake looks nice and even willing to pay for it. But I turned it down because that cake I made is for my bestie and only for her. It’s fondant 3D cake featuring the Despicable Me minion.

20130824-220521.jpg
It is my first attempt at making a fondant cake, not to mention that it’s also a 3D cake. I have to say I must had a lot of beginner’s luck. I did do a lot of research on how to make a fondant cake, and start to gather the things I need for it. I finally adopted the instructions from a YouTube blog” how to cook that”, Β changed the cake, the butter cream and the size. I thought the most difficult would be the big piece of fondant that covers the minion body, but it is actually those little pieces that took me the longest time and a lot of details such as the goggle’s, the eyes and logo etc. I actually made the goggle twice because the first time I tried to use the silver edible liquid to color it, but it didn’t turn out the way I wanted. It was silver, did look like metal, but it was lumpy, like a piece of raw metal. So I changed to powder, which looks very smooth and nice. But powder does make the fondant dry quite fast, and have to be careful when assembling them as its quite easy to crack.
I made the raspberry butter cream, which is her favorite flavor and happens to make it look like actual flesh when cut it out. And you do need more cake than u think for 3D cake. My cake is quite small one, I used 4x 5inch cakes. The foundation and support is also very important as it does make the whole cake quite heavy, and if you are going to transport it, you don’t want it to fall before on the way. So definitely need few sticks and paper board to support.

20130824-222123.jpg
I didn’t take photo’s for the each of the steps, but if you interested to try, you can just search how to cook that minion cake, and you will find the video for instruction. πŸ™‚

Le petite chef

I have been postponing this one for a long time~ it made me feel a bit guilty coz I have been harassing my darling bf to register this website for me almost everyday, but I left it empty for a long time. Finally~ baby step~
I was wondering where should I start when I browsing those old photos and bits of pieces. But I decide to post the first one introducing a nice place for date night dinner as that’s the one got me started this blog.
My darling bf “champignon” took me out for dinner last night for a treat after a long hard work day. It’s actually a regular Japanese restaurant we visit called “Sakura” at Coorparoo. The restaurant is located in a residential area with a lot of queenslander, old but meanwhile very nice and peaceful feeling. It is not very big one but definitely very authentic Japanese cuisine. The sashimi salmon and tuna is always very very fresh, and the soft shell crab is the best ever according to my “champignon”. They also have the Sapporo beer with huge beer glass~ not that I am a fan of beer, but I really like the glass~ looks so relaxing and cool, reminding me the breeze in a mid summer night.

20130823-214655.jpg

20130823-214707.jpg
I didn’t really plan to do a post when we go there, so didn’t take proper pic. But it’s a nice place for a casual date night with loved ones or girl friends for sure~ πŸ™‚